How to Open an Xps File in Windows 10
XPS stands for XML Paper Specification. XPS files are the PDF files of the Microsoft. PDF is a trendy and widely used file type, but XPS files are not very popular among the users.
Most of us do not have any knowledge about XPS files. Some people things that XPS format files are malware as they are not aware of this. Sometimes we get XPS files and do not know how to open the XPS file on windows 10. Today we will discuss the XPS file in this article.
What are the XPS files?
The full form of XPS is XML Paper Specification. We all are very familiar with the file format named PDF. PDF files are introduced by adobe. XPS files and PDF files are alike, but the difference is in the company that introduced them. XPS is introduced among us a very long time ago by Microsoft. So, XPS files are the PDF file format of Microsoft. XPS files never gain popularity, and that is why most of us do not have any idea about this file type.
In an XPS file, the content has a page layout that is fixed. XPS files contain the information of printing, overview, and the layout of the pages. It has all the property of a PDF file; just it saved in a different format. The XPS files are easily shareable, viewable, and it is also secure to use. Windows features a lot of applications by which one can quickly create an XPS file. After saving the XPS file, you can only view and share the document. There is no option to edit the file after saving it. Once XPS is saved, it is collected, there is no way to edit it again.
Generally, the XPS file format was designed to replace another file format named Enhanced metafile. Enhanced metafile is also known as EMF. The language that is used in PDF and XPS is also different. XPS uses XML language, and PDF uses PostScript language. Only the Windows system support XPS file format mac, and other OS do not support XPS formatting. For using XPS in other operating systems, you need to convert it into PDF format.
How to view XPS files windows 10
Microsoft is changing the way we use to see XPS files. Generally, windows provide a built-in app to view XPS files. But after April update 2018, some users are claiming that the XPS viewer is not available on their computer.
In that case, we need to activate the XPS viewer manually. Or if you have disabled the XPS viewer in pervious and you want to view an XPS file, then you need to reinstall the XPS viewer. After installing the XPS viewer, you can easily open and view an XPS file. If you cannot find the XPS viewer, then you need to install it, and then you can see the XPS file.
How to install XPS Viewer
Installing process of the XPS viewer is very easy, and it will not take a long time. So let get started-lat
Step-1: Open your start menu then go to the systemsettings, or you can open the system setting by pressingWIN + I.
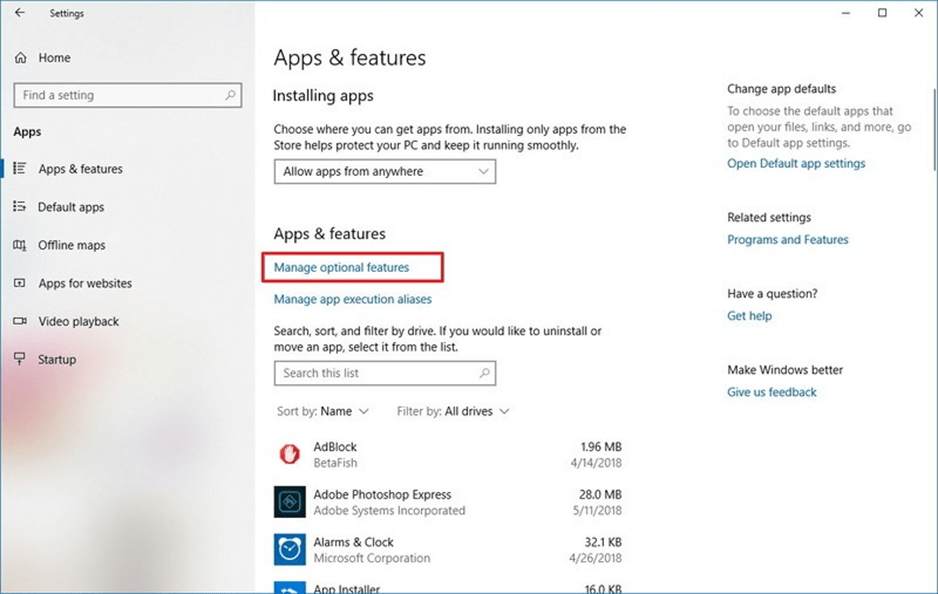
Step-2: From the settings, click onApps.
Step-3: On the apps, menu selectApps and features option from there. From the right side of that window, you'll seeManage optional features click on that option.
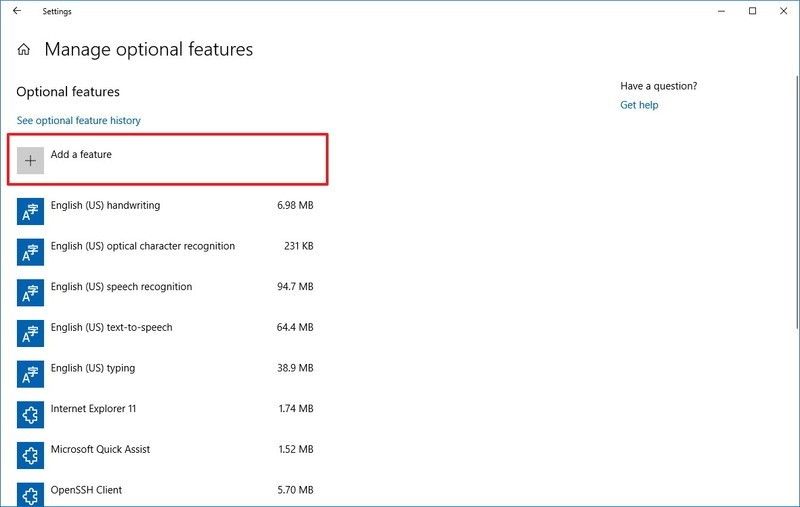
Step-4: After clicking on that, a new window will open. On that window, click onAdd a feature.
Step-5: You'll see a list selectXPS viewer from there.
Step-6: Now, click on theinstall button.
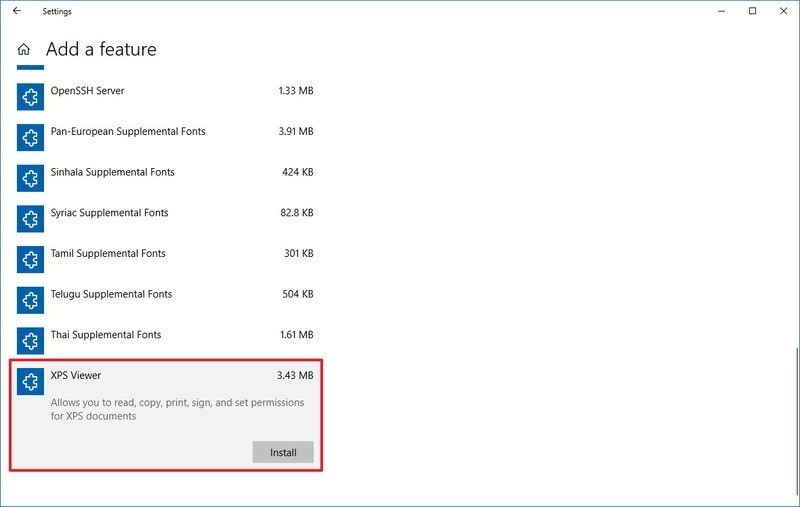
After doing that, the XPS viewer application will install in your system.
How to open XPS file on windows 10
There are several processes through which XPS files can be open. We will discuss every process here briefly.
Process-1: From file directory
Step-1: Go to your file directory and open the folder where the XPS files are located.
Step-2: Double click on that XPS file and wait for a few moments. Your XPS file will open in the XPS viewer.
Process-2: Using the search option
Step-1: Opensearch option on your computer. And search forXPS viewer.
Step-2: Click on it, and a new blank page will open. On that page, click on theFile and double tap on the file that you want to open.
Process-3: Using the application
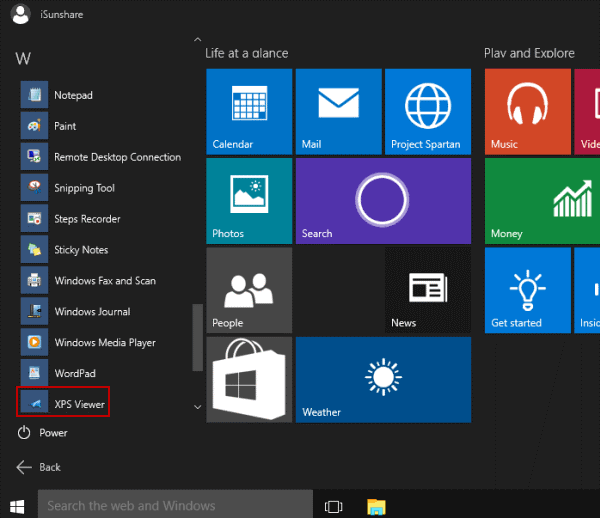
Step-1: Click on the start menu, and you'll see all applications that are installed on your system scroll down and selectXPS viewer.
Step-2: After clicking on it and a new blank page will open. On that page, click on thefile and double tap on the file that you want to open.
Process-4: Using run command
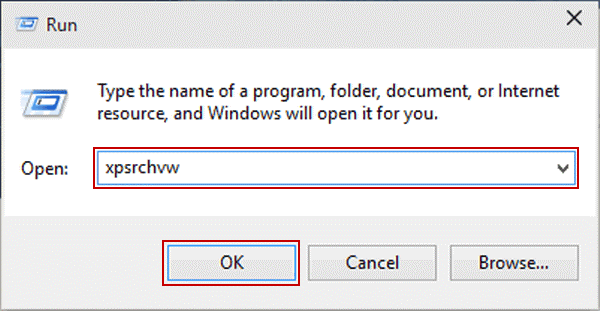
Step-1: Search for run or pressWIN + R to access Run.
Step-2: Typexpsrchvw and click on ok.
Step-3: After that, a new blank page will open. On that page, click on thefile and double tap on the file that you want to open.
Process-5: From the command prompt
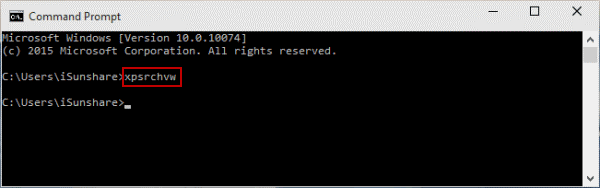
Step-1: Search for thecommand prompt and enter on it.
Step-2: Typexpsrchvw and then press enter.
Step-3: After that, a new blank page will open. On that page, click on thefile and double tap on the file that you want to open.
Process-6: Open using Windows PowerShell
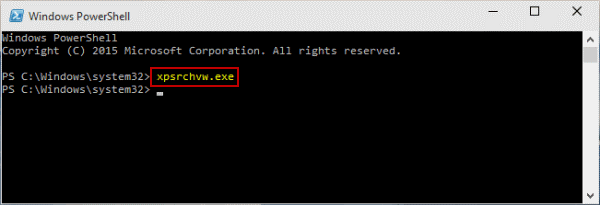
Step-1: OpenWindows PowerShell from the Start menu.
Step-2: Typexpsrchvw.exe then press Enter.
Step-3: After that, a new blank page will open. On that page, click on thefile and double tap on the file that you want to open.
Conversion of XPS to PDF format
It seems like Microsoft is no longer maintaining the XPS file format. So it is high time when you should convert the XPS files to PDF files. The conversion process is not very difficult and can be done within a few moments.
Step-1: Go to your file directory where the XPS file is. Now double click on it to open it in XPS viewer.
Step-2: On the top right of the XPS viewer, you'll see theprint button, click on it.
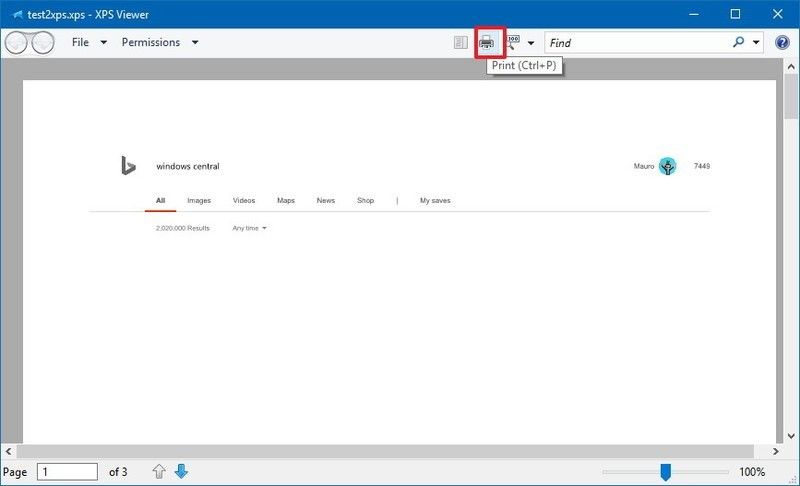
Step-3: After clicking that chooseMicrosoft Print to PDF, which is right under the select printer.
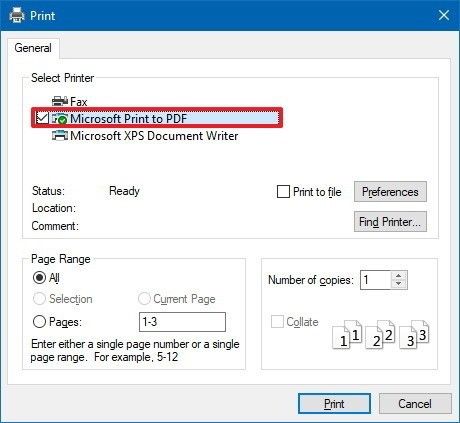
Step-4: Now click thePrint button.
This process will make your XPS file PDF files.
Creating an XPS file
XPS files can be created by using Microsoft office. You need to save your file as XPS instead of docs. The process is straightforward to follow the below-mentioned instruction to create an XPS file-
Step-1: Open the document that you want to convert into the XPS file usingMicrosoft word.
Step-2: Click onFile option and then click on print. Now selectMicrosoft XPS Document Writer and click on print.
Step-3: Now give the file a name and save it by clickingOK.
FAQ
Question: Are XPS and PDF the same?
Answer:The properties of XPS files and PDF files are the same. So in a matter of sense, they are the same. These two file formats just introduced by two different companies.
Question: Do I have to install the XPS viewer manually?
Answer: Generally, XPS viewer comes pre-installed, but you can't find yours, then you need to reinstall it.
XPS files are here in windows for a very long time. In this article, we have discussed how to open the XPS file on windows 10. You'll find every possible method here, and hopefully, it will work for you.
Related Post : How to Scan Multiple Pages into One PDF on Windows 10 Discover How to Run a JAR file on Windows 10 How to Open an Xps File in Windows 10
Source: https://fixguider.com/how-to-open-xps-file-on-windows-10/